
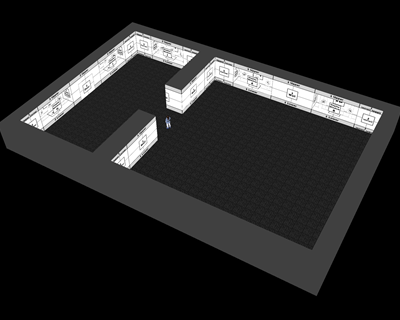
Small Business Display Room
Please notice this room is more difficult to derive. Opacity skill required.
There are other products designed to use with this sales tool. See below
This room is designed for merchants to sell their wares. Many display windows
allow tons of room for many products. The products are very diverse. You may
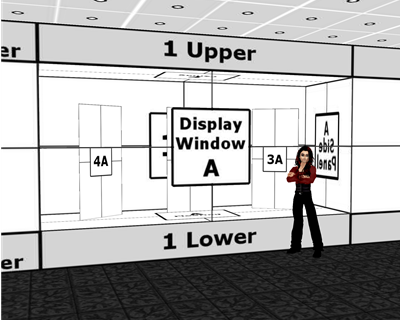
display larger furniture items in the display floor area. The display windows are
designed in "Mall Style". You may decorate the window Sides, Backdrop and
Ceiling, uniquely. Themed Display Windows, just like at the Mall.
More Room Features!
These should not go unmentioned. There are ample Floor Nodes for Floor Furniture.
Again, there are ample Ceiling and Wall Nodes, too. It doesn't stop there. Each Display
Windows has it's own Floor, Ceiling and Wall Nodes for adding Signs, small furniture and
other ornimental decor. Each Display Window contains 3 display panels for your opacity
cut-outs of products for sale. These are very high resolution panels. These can be used
for product Outfit Bundles! Makes a great tool for selling Outfit Bundles.
Interested? Please read the NOTEs at the bottom
You will find much helpful information
Even More Room Features!
Here is the Kicker. The room contains special floor nodes. These are exactly placed
for the Small Business Mall Product Linker. The floor nodes will automatically align
the Product Linker (see link above) to three different areas in front of the Display
Windows. As your Display Windows change, you can edit
your Product Linkers for the windows display.
What is the
Product Linker?
Takes the Customer
to your product
This is the magic that makes the room sell, sell, sell!
The product linker can be used for the Windows Displays as described above.
There are special Floor Nodes for the linkers in 30 different locations. You may place
them anylace you like but there aer 30 infront of the Windows Displays that line up
easily. Some poeple may want to use the linkers in the middle of the Display Area
like next to a Car or Piano, etc. Read more about the Product Linker. Click It
Other Derivable Products
You may want for your Display Showroom
-------------------------------------------------------
Rope Stanchion Sets
Display Cases
Table Top Displays
Catalog Linker
Product Linker
Display Tables
Sales Signage
Much Much More ...
![]() first in the Client Shop Window
first in the Client Shop Window
Need Assistance? Just drop me a PM and I will respond as soon as possible.
Creator's Notes
&
UV Maps Below

|
Weddings Music Ambiance |
Candlelight Dinner for Two |
Wedding Priest & Vows |
|||
 |
 |
 |
More Wedding Items
Creator's Notes & Tips:
Graphics!!!
I have used small sized graphics for the excellently LOW Kb to help reduce overall client crashing.
This also leaves you plenty of Kb Room to add your wonderful artwork and still have a light weight product.
Please note, if your color combinations are not working, adjust the Vertex On or Off as needed.
You can also adjust the "Self Illumination". Experiment with these settings.
You may use any size graphic you wish. If you need more detail use a Larger Graphic 256x256 or 512x256, etc. This
project may use Mapped (below) and / or Standard graphics in a 128x128 (low Res/Kb), 256x256 (normal Res/Kb) and up to 512x512 (High Res/Kb) Look closely at my "starter" textures in the Create Mode to get an idea of their layout, sizes, more... Experiment!
Some textures are 'standard' (as in the preview pane of Create Mode except for any UV Mapped as in the below) Change as many textures as you want.
Can you use my textures on any of my products? YES!
Can you use my textures on other people's products? No.
Special Notes and Samples:
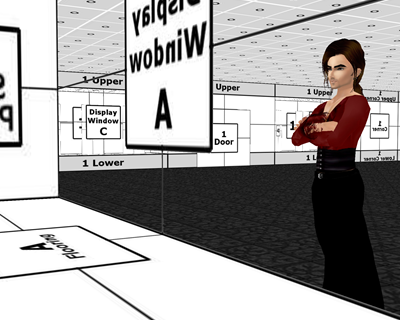
Each Display Window has a Letter Designation. If you are working on Window "A" then all the textures in that Window will start with the Letter "A". To find the Material Location in the Create Mode, find your texture name in the chart below and look at the Material Number in the Create Mode. The chart below is in order by texture name.
|
|
|
|
|
||||||||||||||||||||||||||||||||||||||||||||||||||||||||||||||||||||||||||||||||||||||||||||||||||||||||||||||||||||||||||||||||||||||||||||||||||||||||||||||||||||||||||||||||||||||||||||||||||||||||
Texture & Material Opacity -
Of course you can look closely in the create mode at my low kb textures to get an idea
If you are new ot opacity materials, here a few samples to get the idea....
Here are some Opacity Maps. Notice they are to the right of the regular Texture Material
in the Create Mode. Remember you can make them smaller than mine to conserve KBs
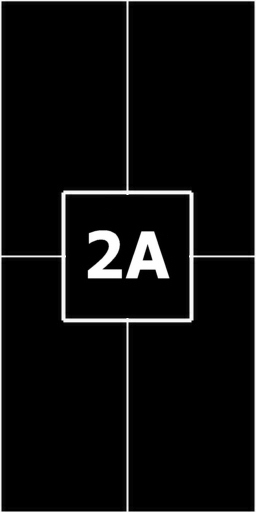
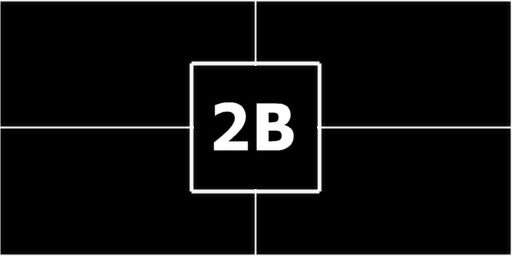
Window standup 2A Opacity Map Window "laying" 2B Opacity Map
Conserve Kb Weight for the textures that really matter. Make other textures
smaller in size or smaller in Kb Weight by optimizing them.
|
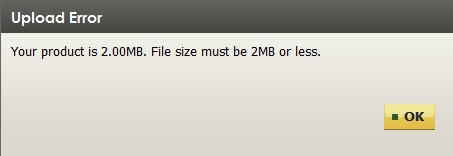
I know working with so many texture materials can be rough. Some understanding will make things easier. Please save your higher resolution textures for the products shown. Use them on the parts of the room that show off your products. Remember the 2Mb Limit. I would use low kb textures for things that do not sell your products; such as, ceiling or floors, wall textures, etc. Save the "good stuff" for things like outfit cut-outs, product photos, etc. |
 |
Confused? Just drop me a PM and I will respond as soon as possible.
You may also find handy the " Creator's Helping Hands" It makes the avatar Stand Still for photos, etc.
ENJOY
Make Avatars Stand Still
Note: Graphics are Granted Use License for *this* project only. As always, if you have questions or need help, I am here.
Presenting the
Storybook Theater

presented by
Goldilocks & Lestat