Wish that axe was golden? BLOOD COVERED? Maybe a killer battle cry for that attack? Well then DERIVE IT! Make your own version, and even sell it the catalog for a small markup over my original, and you can keep the extra profits for yourself! You can express yourself AND earn credits at the same time. How's that for a sweet deal? You'll need a full account on IMVU, as well as a copy of Previewer. You can find out more about Deriving on the IMVU's Education Center. Below are the templates you'll need to get started:
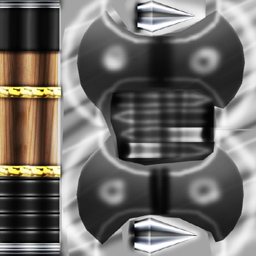
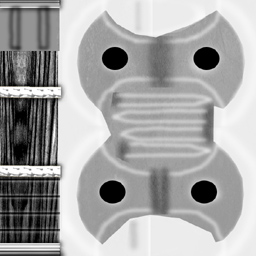
This is the texture used on the Body of the Axe. Use this to make small changes to the look of the Axe:
This is the Opacity texture for the Body of the Axe. Anything you paint black disappears. Use this to remove the thick part of the Axe blade, cut holes in it, or alter the thick parts of the Axe at all. Otherwise, leave most of this image white:
This is a "Gray" version of the Body of the Axe, to allow you to paint in new color and detail without loosing any of my shading:
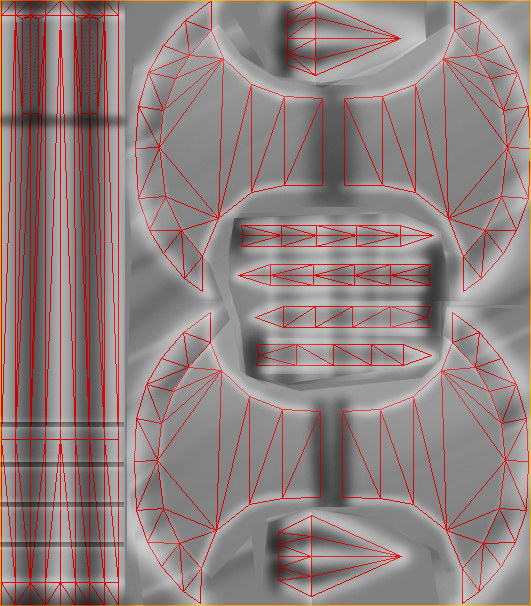
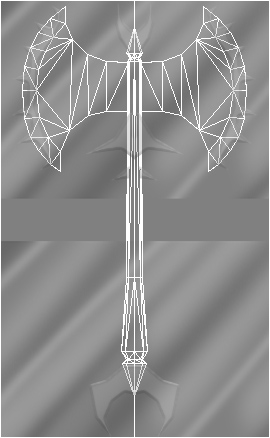
This is the "Wireframe" layout of the textures on the Axe body. It will tell you exactly how each and every pixel attaches to the structure of the Axe. Use this to create a completely new texture map from scratch. This is something best left for the Advanced users:
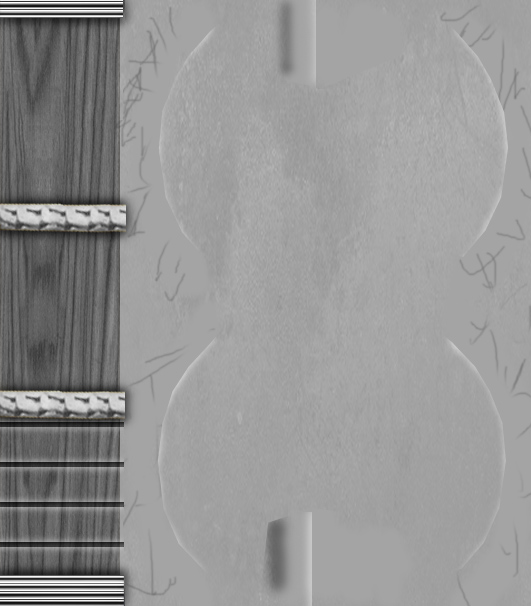
Here is the Specular map (or Shine) for the Axe body. A Specular map is a gray image that defines how reflective an item should be. This only works in IMVU Desktop and IMVU Mobile, and has no effect in IMVU Classic (as of March.2024):
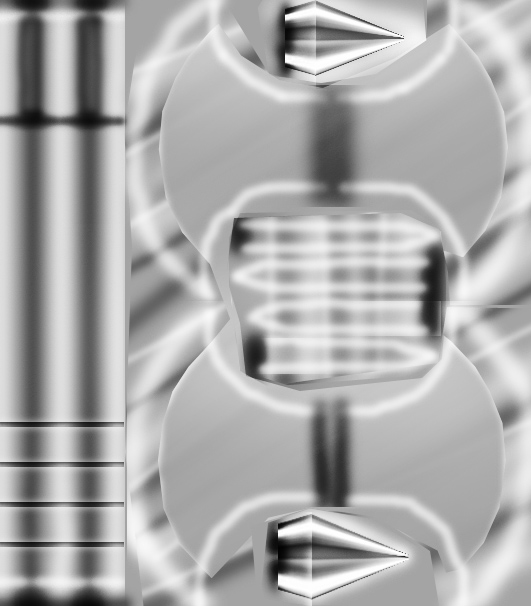
Here is the Normals map for the Axe body. This image defines the height effect of the Texture map. DO NOT alter this image directly. If you wish to make your own custom Normal map, please look further below. This only works in IMVU Desktop and IMVU Mobile, and has no effect in IMVU Classic (as of March.2024):
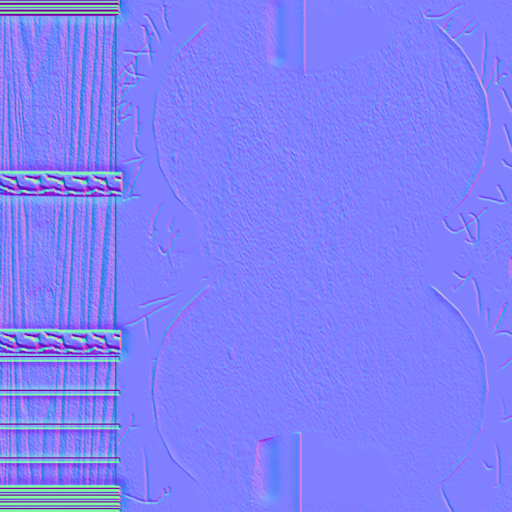
When I make a Normal map, I start out with a grey version of my Texture map, with just the shadows and highlights. Consider the basic level of the surface to be 50% grey. Darken your image to drill down, and add white to build up. You can always get a basic Normal map just by making a copy of your basic texture and removing all color. This is what the Axe body Normal map looked like before altering:
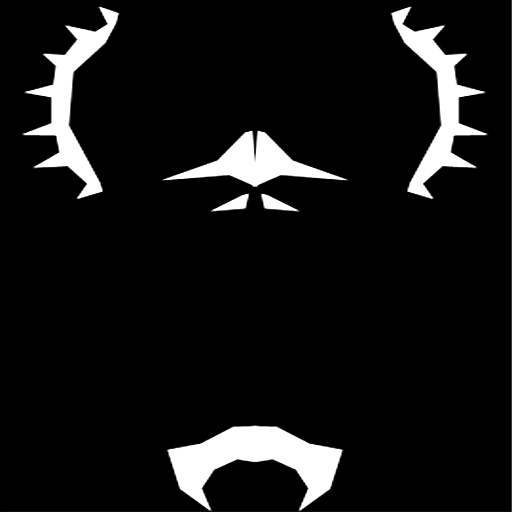
This is the texture used on the 2D, flat parts of the Axe. If you wish to add or remove new parts on this image, make sure the outline of your new shapes match the Opacity texture below:
This is the Opacity texture for the 2D parts. Make sure this matches the outline of whatever you painted above. Everything that's visible needs to be white, and everything else needs to be black. By masking off the Axe Blade on the Axe Body texture map, and then drawing in a new axe shape on the 2D image, you can reshape the Axe Blade into any shape you wish. You will notice that the Opacity is very large. This is necessary to make these 2D parts less blurry and pixalated:
This is the Wireframe layout of the 2D shape, and how it wraps around the Axe Body. Use this to help guide you, should you want to change the 2D parts, or even remove the existing Axe Blade and replace it with a completely new, flat one:
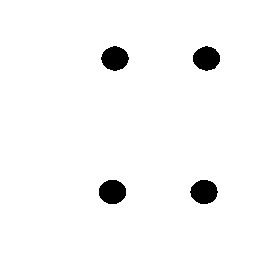
Here is the Specular map (or Shine) for the 2D Parts:
To add sound, I highly recommend you download and use Audacity. It's a free sound editing tool that can export out OGG sound files. OGG sound files compress down to less then 1/10th the file size of WAV files. SO USE OGG FILES!!! You can download it here:
http://audacity.sourceforge.net/