
Wish Dog-o was a slick Black? Military Green? SOLID GOLD?! Well then, get to work and DERIVE it! Make your own version, and even sell it the catalog for a small markup over my original, and keep the extra profits for yourself! You can express yourself AND earn credits at the same time. How's that for a sweet deal? You'll need a full account on IMVU, as well as a copy of Previewer. You can find out more about Deriving on the IMVU's Education Center. Here are the templates you'll need below:
This is the actual Texture map used for the Body of the Dog. Use this to make simple changes, like color:
This is the Wireframe layout for the Body of the Dog. This shows you exactly how the Texture map adheres to the structure of the model. You'll need this if you want to create a completely new Texture from scratch:

Here is the Specular map for the Body of the Dog. A Specular map is a gray image that defines how reflective an item should be. This only works in IMVU Desktop and IMVU Mobile, and has no effect in IMVU Classic (as of March.2024):

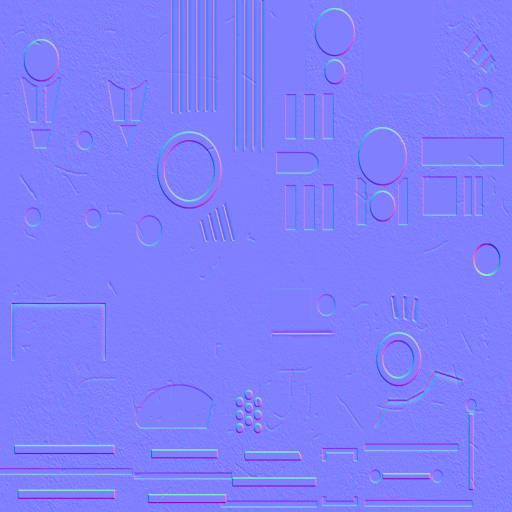
Here is the Normals map for the Body of the Dog. This image defines the height effect of the Texture map. DO NOT alter this image directly. If you wish to make your own custom Normal map, please look further below. This only works in IMVU Desktop and IMVU Mobile, and has no effect in IMVU Classic (as of March.2024):
When I make a Normal map, I start out with a grey version of my Texture map, with just the shadows and highlights. Consider the basic level of the surface to be 50% grey. Darken your image to drill down, and add white to build up. You can always get a basic Normal map just by making a copy of your basic texture and removing all color. This is what the Blade and Handle Normal map looked like before altering:

You shouldn't use the grey image by itself though, as this can cause visual problems. You need to convert the image into a proper, blueish Normal Map. I suggest you download a copy of Gimp, the image editing tool I use for all of my advanced materials. Under Filters > Generic you'll find "Normal Map...". In the settings, I suggest you use "Flip X" and "Flip Y" setting and set the scale to 12.
This is the Texture map for the Energy Effects:

This is the Texture map for the Head:

This is the Specular map for the Head:

This is the Normals Map for the Head:

This is the Pre-Processed Normal Map for the Head:

This is the Wireframe layout for the Head:

This is the animation grid for the Eyes. It's 16 32x32 pixel images, which are played Left to Right, and Top to Bottom, at the rate of one every second or so. If you want this animation to play faster, you can find the settings under Materials and Texture Animation. It's possible to make a 8 by 8 grid of these 32 pixel images within the 512 by 512 pixel texture limit. You'd need to alter the Frame Count section, but that would give 64 frames of animation!:

Here's a grid show you roughly how each image aligns with the circular mesh it appears on:

This is the 4 image section for the Alternative Eyes, shown when the Dog is Angry, Dead, or in Love. Only 3 of these images are used at this time, so ignore the unused black bottom section:

Here's the layout for the Alternative Eyes:

If you wish to add audio I highly recommend you download and use Audacity. It's a free sound editing tool that can export out OGG sound files. OGG sound files compress down to less then 1/10th the file size of WAV files. SO USE OGG FILES!!! You can download it here:
https://www.audacityteam.org/download
Please keep your sound volume levels within acceptable limits. DON'T MAKE YOUR SOUND AS LOUD AS POSSIBLE!!! Loud sounds will annoy other users, and reduce your sales. Also avoid using Looping sounds, as IMVU has no controls to stop Looping sounds once they start playing.