Texturing can be really fun, but to many of us it's also quite difficult when we first start out, not to mention the hours (or days!) that fly by without actually uploading something to the shop! You can now use all the textures displayed in the product icon above, and many many more, totally for free. You can just pick some textures you like, download them and use them. The only condition is that you derive from me; my accounts are Manilla, Mickey and Regina. If you use (parts of) my textures while deriving from others, I will be forced to file DMCA and your products will be removed. You can access all my bottom mesh textures here. These work with all my skintight bottoms, also those you see in outfit derivables. You are now deriving from my size L bottoms, click here for M and S.
Below you'll find a step-by-step 'tutorial' for beginners. If you already know IMVU's basics, just skip it and have fun creating!
1. Derive from product
Scroll down this page, you'll see the 'Derive from product' button, this will open your mesh in IMVU.

2. About material slots
In Editor, you'll see that material slots 10 and 11 are occupied by the shorts' textures:
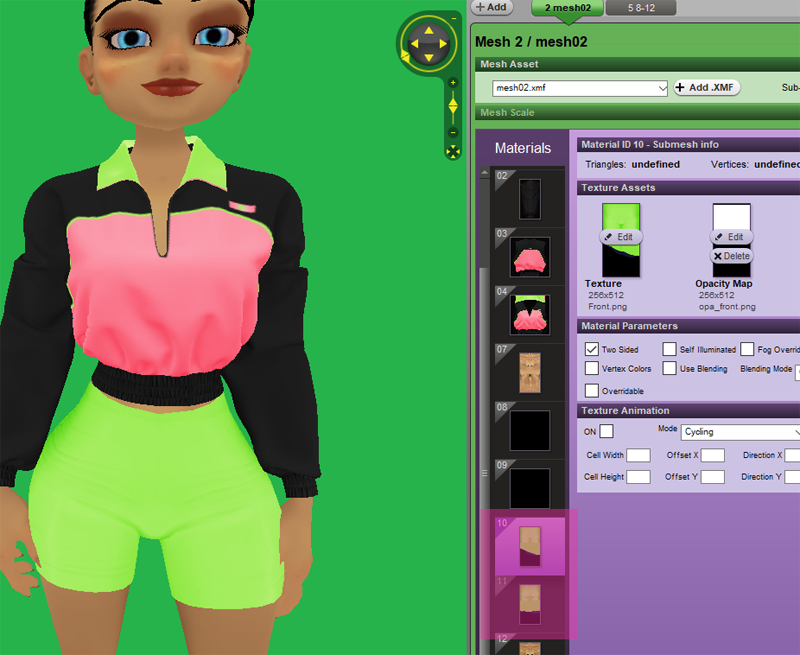
Material slots 8 and 9 are for skirts, and slot 12 is the underwear slot, you don't have to worry about those right now.
In the case of bottoms, you'll usually use 2 maps in 1 slot: a texture map on the left and an opacity map on the right. An opacity map tells the product which parts you want to be visible, white means visible and black means invisible. (Don't worry about gray for now.)
3. Choose your textures!
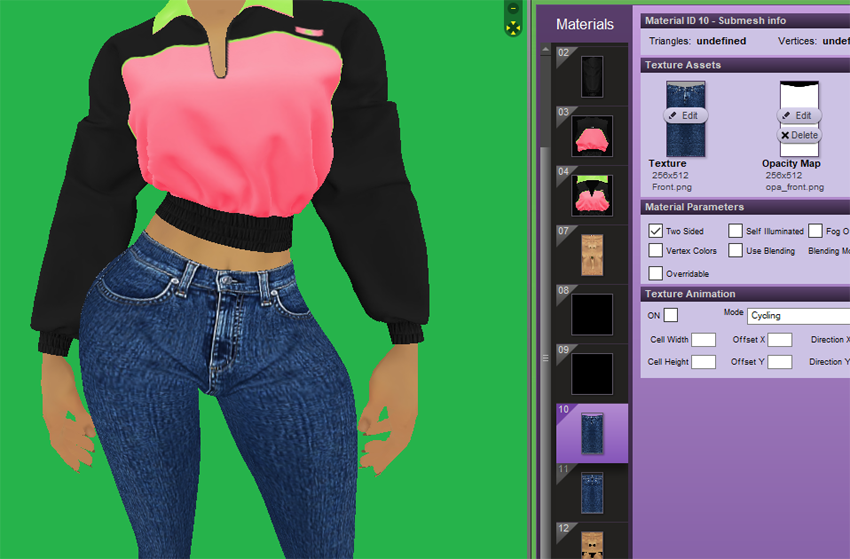
You'll find all my bottom textures here. Pick some you like or download all so you can try a few. (You need to click on them to save them, they won't save properly if you save them from the overview.) Always make sure to download both the texture and opacity maps! If you can't tell what's what, all files are named. 'Tx' stands for texture and 'OP' stands for opacity. 'Fr' means front and 'Bk' means back. So 'OP Bk' is the opacity file for the back of the bottoms. So pick some and upload the texture and opacity maps in slots 10 and 11, like this:
And that's it!
Some extra tips and info:
- Some textures might look fuzzy, this is usually because there's gray in the opacity map. Try checking the 'Use Blending' option, this will make it look very smooth. (Products with blending on sometimes interfere with other products that have blending on, for example, you can't wear a top and bottom together that both have blending on. While deriving from an outfit, you'll just have to choose.)
- I used this derivable in the tutorial:

A lot of my top meshes come with bottoms attached, if the bottoms are skintight, there's a very high chance they will work with my texture collection.
- I love creating and I love helping people create, so if you have questions about any of this (or other creating questions), do inbox me! I'd love to hear about whether this tutorial was useful to you. I reply fastest on my main account Manilla. Texture requests are also welcome!