The Furniture Body Guard Bot is a Room-version of my Body Guard Bot pet sold separately in the catalog. As it's a direct transfer, be aware that the handle for moving and manipulating the Bot's placement is in front and to the left of the Bot's actual position. If you're having a hard time finding it's control handle, look for it there. You can copy the Bot as many times as you wish, but more then 10 might seriously decrease your computer's system preformance. You can also shrink and enlarge the Bots, from the size of a Toy, to as BIG has a House! Large or small though, it still requires the same amount of system resources, so if you want your room to work on low-end computers, keep the number of copies within reason.
Commands:
"Greet" - Makes your Bot's welcoming
"CannonCheck" - Preforms Plasma Cannon inspection
"GunCheck" - Preforms Chaingun inspection
"GunFire" - Attacks with Chainguns
"CannonFire" - Attacks with Plasma Cannon
"Cheer" - Celebrates your Victories
"Crazy" - Makes your Bot's temporarily loopy
"Terrible" - Shows your Bot's dissatisfaction
"Yes" - Shows your Bot's agreement
"No" - Shows your Bot's disagreement
"SystemCrash" - Forces a System Crash
"Sad" - Shows your Bot's unhappiness
":p" - Makes your Bot give you the Raspberry
What's the matter? Not fond of boring old silver? Want your Robot to make sound noise? Well then, quite complaining and DERIVE it! Make your own version, and even sell it the catalog for a small markup over my original, and keep the extra profits for yourself! You can express yourself AND earn credits at the same time. How's that for a sweet deal? You'll need a full account on IMVU, as well as a copy of Previewer. You can find out more about Deriving on the IMVU's Education Center. Here are the templates you'll need below:
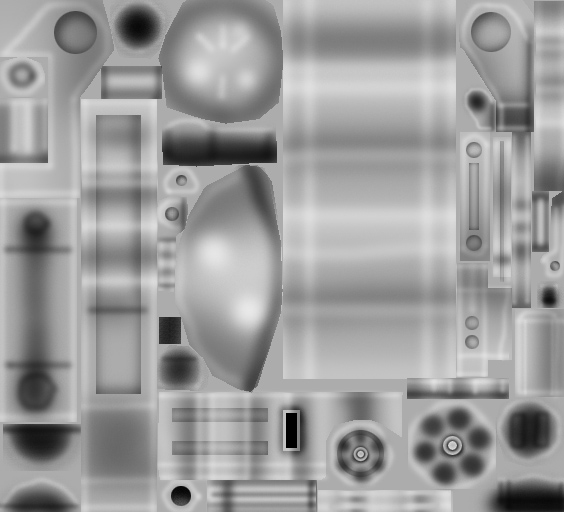
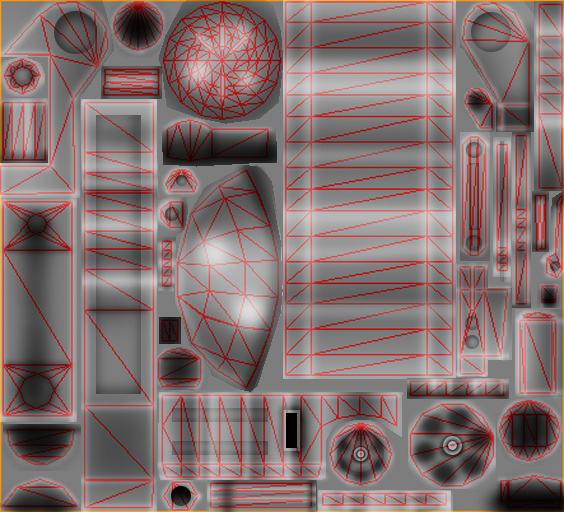
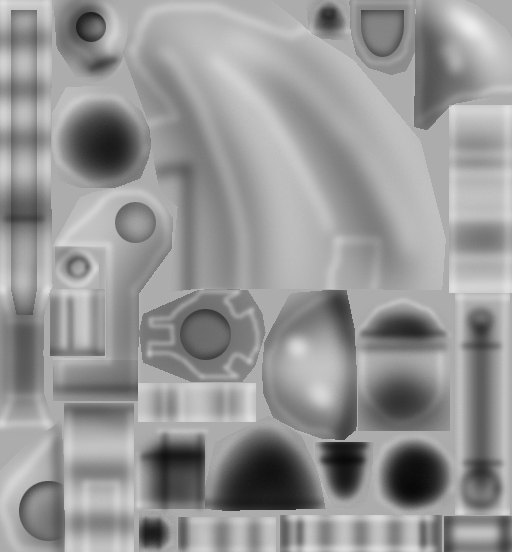
The texture maps for the Body Guard Robot may appear complex, but remember that you don't need to edit each and every part. Simple changes, like adding color, painting on a few numbers or letters, adding bullet holes, can all be done in just a few minutes. Also, enhance your version with sound effects to make it REALLY popular! I left the sound effects off just to increase each developer's chance of a sale. You need to price your item higher then mine to make a profit, so make sure to add some nice touches like sound to increase your chances of a sale. Here's the texture maps you'll need:
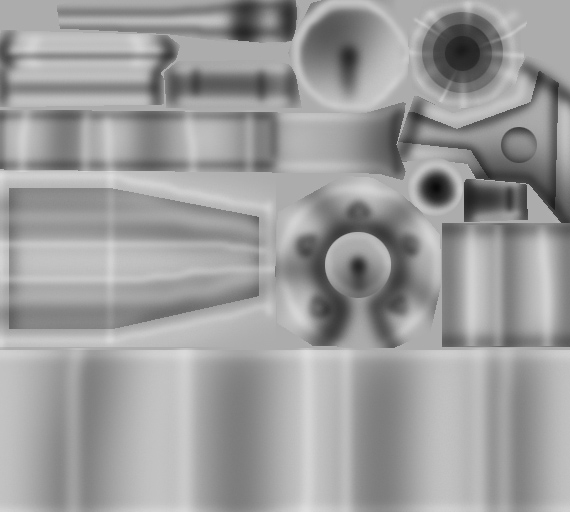
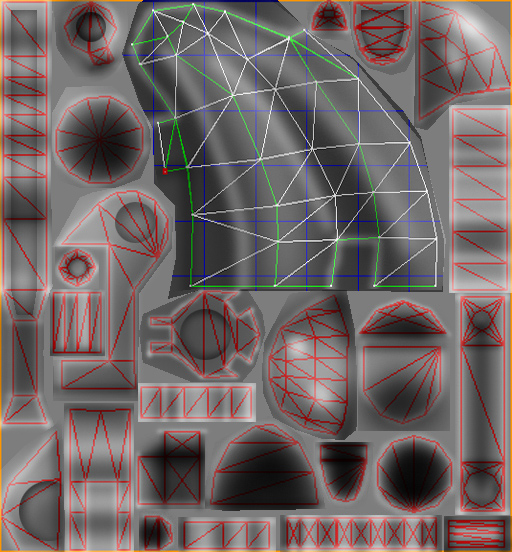
This is the Gray template for the Robot's back cannon. Use this if you only want to make minor changes to the skin, like changing it's color, or adding decals, numbers, bullet holes, or whatever else. If you use Photoshop, you can also use this as an Overlay layer to instantly turn any simple texture map into a detailed new skin:
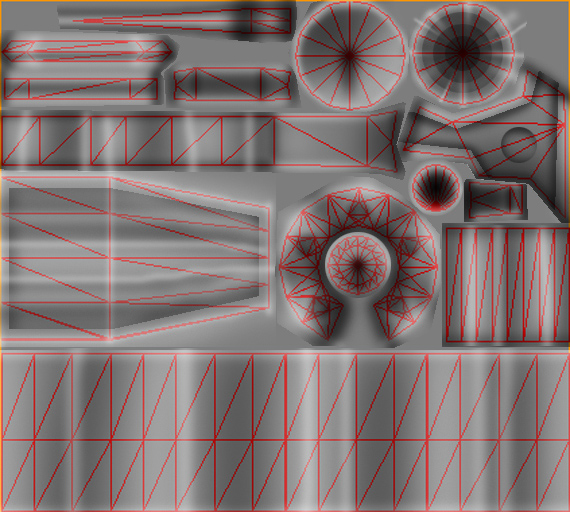
This is the Wireframe template for the Robot's back cannon. Use this if you REALLY want to customize the skin and need to see where every pixel will fall on the finished product:
This is the Gray template for the Upper Body:
This is the Wireframe template for the Upper Body:
This is the Gray template for the Arms:
This is the Wireframe template for the Arms:
This is the Gray template for the Legs:
This is the Wireframe for the Legs:
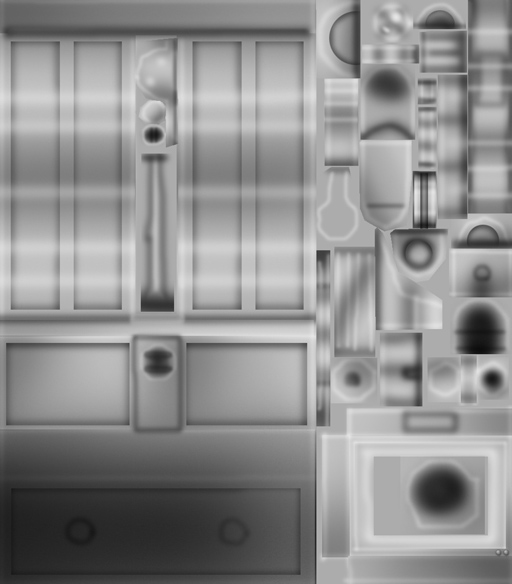
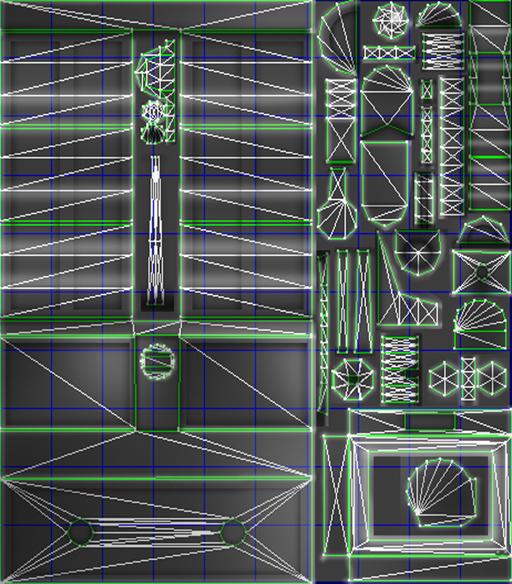
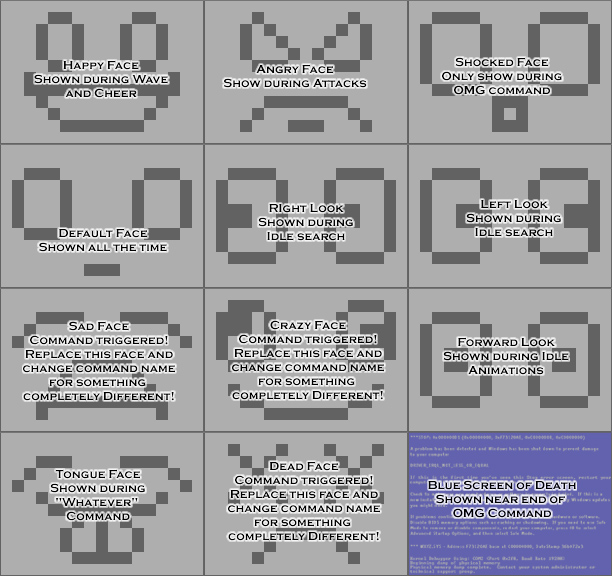
This is the layout template for the faces. As you can see, it's divided into 12 sections. You can use ANY image on each section, so please be creative and do something unique! You can use your own face, faces of famous people, hand drawn faces, or anything you like. Just make sure you put each face where it belongs on the map, in order to match animations. There are also 3 "Free" faces that are triggered by command, Sad, Crazy, and Dead. Change these into anything you like, but remember to customize the command to match the face you use. Whatever you use will stay on the robot's screen for about 12 seconds. Type in a larger or smaller number into the "Loops" setting in Previewer to make the face stay for longer or shorter time:
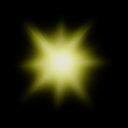
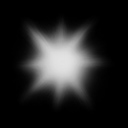
This is the Color map for the Fireball effect you see when the Cannon Fires, as well glow coming from the middle of the Cannon. My version is gray for demonstration purposes, but you can use any color you like:

This is the Opacity map for the Fireball Effect. Make it darker, or even solid black, to make the fireball more transparent, or even invisible:
This is the Color Map for the Cannon's Beam. My version is Blue, but you can use any color you like. You can also change the shape of the beam, but make sure it's shape matches the Opacity Map for the Beam:
This is the Opacity Map for the Cannon's Beam. Change this to change the shape of the beam. Just make sure your Color Map and Opacity map match shapes. An easy way to do that is just to copy your Color map for the beam, convert to Grayscale, and save it as a new Jpeg:
This is the Muzzle Flash Color map. You see the Muzzle Flash briefly every time the Robot fires it's arm mounted chainguns:
This is the Opacity map for the Muzzle Flash. Change this to change the size and shape of the muzzle flash. Just make sure it matches the Color map:
To add sound, I highly recommend you download and use Audacity. It's a free sound editing tool that can export out OGG sound files. OGG sound files compress down to less then 1/10th the file size of WAV files. SO USE OGG FILES!!! You can download it here:
http://audacity.sourceforge.net/
Music by the Coma Lilies:
http://www.myspace.com/thecomalilies